Do you want your motherboard to overheat and malfunction due to dust, dirt, and grit accumulation in it? Of course not, because it not only leads to poor performance but also can cost you hundreds of bucks which you have to spend on the repair after the breakdowns. Therefore, you should clean it regularly. If you do not know how to clean the motherboard, you do not need to worry anymore! You can read this post and learn how to clean your motherboard properly without damaging it.
You should periodically clean your motherboard so that all the dust, dirt, and grit should be removed, letting your system work to the optimum level. Moreover, dust accumulation also leads to short circuits that can ultimately break down your system.
Table of Contents
ToggleHow to Clean Your Computer Motherboard
There are multiple ways to clean a motherboard. You can use a blower, compressed air, isopropyl alcohol, or a vacuum cleaner. To learn how to use these things properly, you should stick to this post.
What You Need to Clean the Motherboard
Before starting the cleaning process, make sure you have all the essential things that you are going to use throughout the process.
- Screwdriver to open up
- Compressed air
- Vacuum with attachments
- Cotton swabs
- Rubbing alcohol
- Soft-bristled brush
You should keep all the above items in the place where you are going to start the cleaning process. Because then you will not have to go to the almirah again and again, to pick up any of the cleaning items.
Turn Off Your Computer
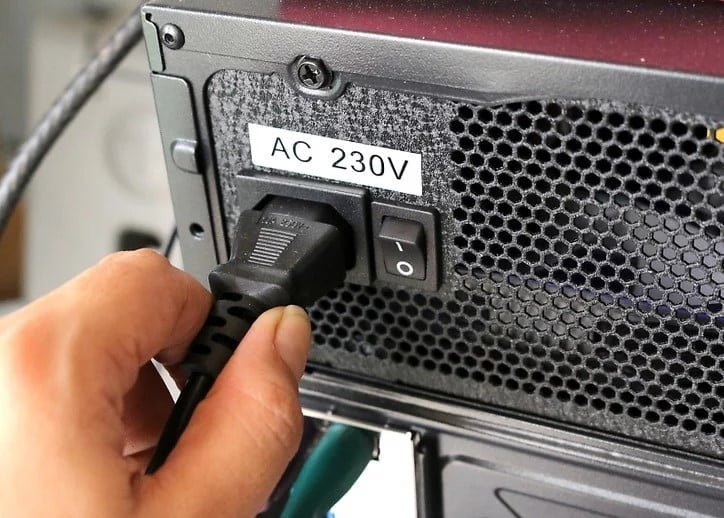
First of all, you should make sure your computer is not connected to the electricity supply so that you can save yourself from the electrical shocks and injuries that come to you inadvertently. Therefore, you should unplug your system from the electrical socket.
Give a Blow of Compressed Air

You can take a can of compressed air that is easily available at any market. This compressed air might seem a bit costly for you. That is why there are some alternatives in our box we are going to share with you.
You can also use an air compressor to give a blow to your motherboard to clean all the dust, dirt, and grit out of your system. But keep in mind that you should not use the air compressor at a higher PSI. You must set the PSI setting below 50 to make sure that you are not damaging the components of the motherboard.
Moreover, you can also use a hair dryer to remove dust and dirt from your motherboard. Remember, you should not use it by increasing its temperature; otherwise, it might damage the soft or temperature-sensitive components of the motherboard.
Use a Soft-bristled Brush
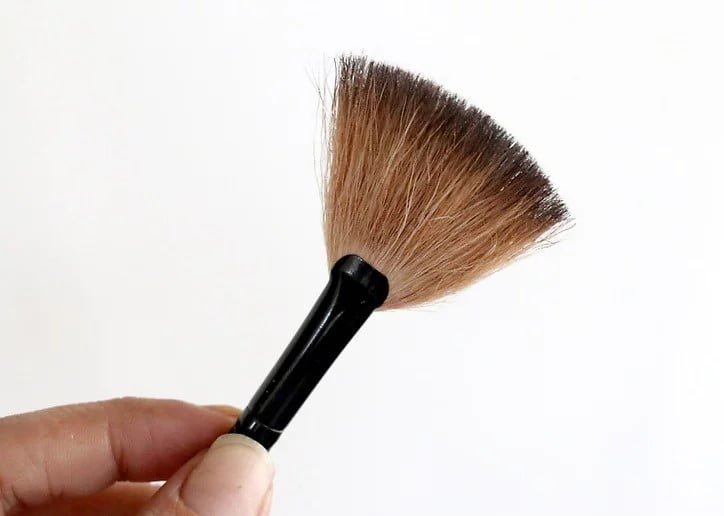
When you have removed all the suspended dust with the help of compressed air, it is time to remove the dust that is still settled on the motherboard surface, such as gaps and corners. For this purpose, you can use a brush so that it can break the cohesion between the dust particles and the motherboard body.
Before you use a brush to remove the grit from your motherboard, you should learn how to clean the motherboard by using a brush. Experts will guide you that you should use the soft-bristled brush. Why? The reason is that if you use a hard brush, it can damage your motherboard’s components. That is why you should clean your motherboard with a soft-bristled brush to ensure that it is not damaging your system.
Open Up Your Motherboard's Case
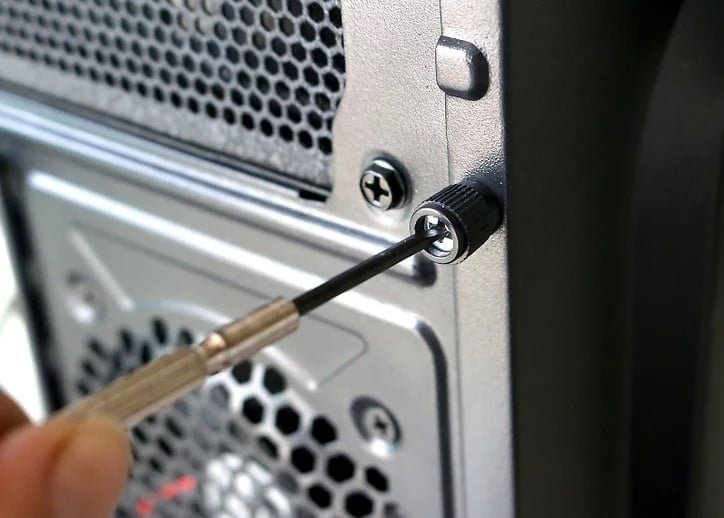
After cleaning each and every corner of your motherboard, you should open up your motherboard’s case so that you can remove all the dust, dirt, and grit from the inside as well. For this purpose, you will have to use a screwdriver.
When you have opened up your system’s case and started the cleaning process, you should keep one thing in mind. That you should clean the inside of your motherboard carefully unless you damage it.
Therefore, if you do not know how to clean the motherboard from the inside, you should learn it first, and then you should start. How can you learn? No worries! You just read this post, and till the end of this post, you will be able to clean your motherboard properly without damaging it.
Blow All Internal Parts with Compressed Air
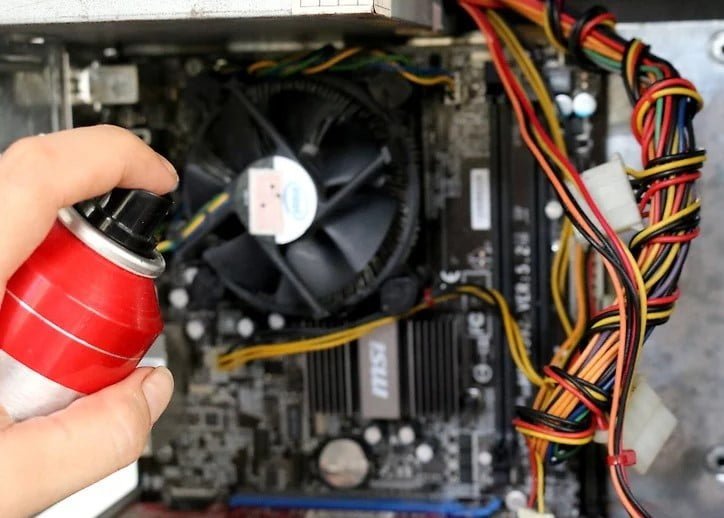
The safest method to clean the internal components of the computer is by using compressed air. It will remove dust, dirt, and grit from all parts, even from the gaps and corners, without unscrewing them.
On the other hand, you can also use a cotton swab to clean the components to remove the grit that is not removed with the help of compressed air. Moreover, it also removes all the particles from the components of the motherboard that can lead to rust or erosion. Hence, you should use compressed air or a cotton swab to properly clean the internal components of a computer without damaging them.
Close the Case
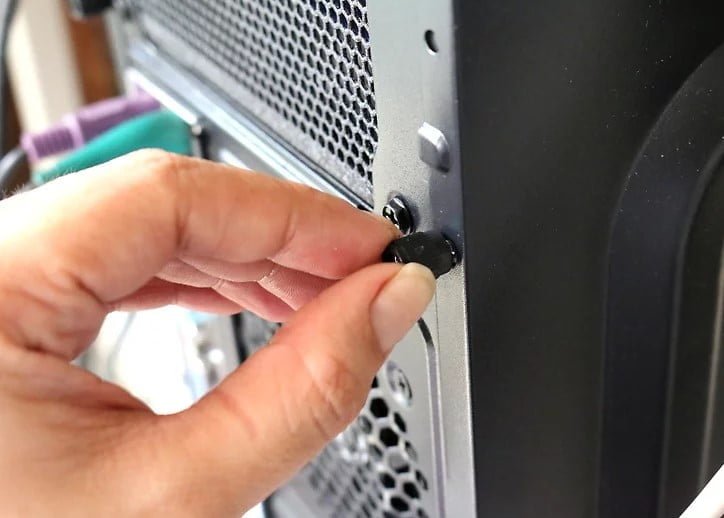
After you have cleaned all the components of your computer properly with the help of the compressed air or cotton swab, it is time to close the case and turn it on. You should see whether it is working optimally or not. So, place the case in the right position, put all the screws back in their places, and tighten them with a screwdriver.
Plug in and Turn On

When you close it properly, now you can insert all the cables back and connect them to the power supply to turn it on. You can also see the performance of your system, which will tell you the clear difference.
Final Words
If your computer is not working up to the mark, you should check all the possible reasons and try to resolve them as soon as possible. It goes without saying, but the accumulation of dust, dirt, and dirt can also lead to poor performance of your system leading to overheating, malfunctioning, and sometimes breakdown if you do not give attention for a longer period.
Therefore, you should clean your motherboard periodically to ensure its optimal performance. If you do not know how to clean the motherboard, you do not need to worry anymore! Read this post carefully, and you will be able to clean your motherboard like a pro.
